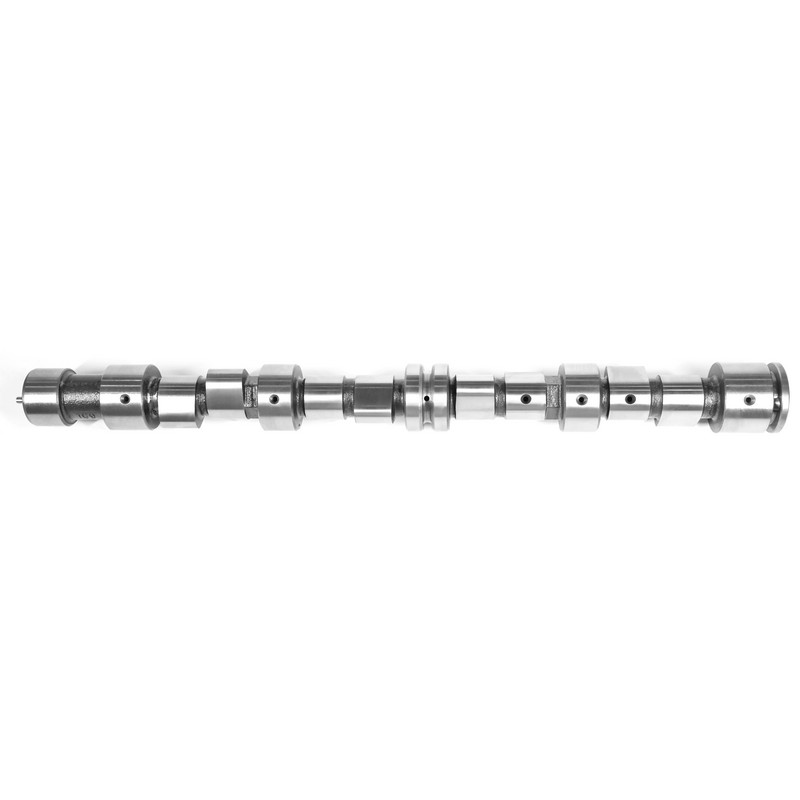
The automobile camshaft is a critical component in an internal combustion engine, responsible for controlling the opening and closing of the engine's intake and exhaust valves. It works in sync with the crankshaft to ensure proper air-fuel mixture intake and exhaust gas expulsion, directly impacting engine performance, fuel efficiency, and emissions.
Camshafts can wear out over time due to friction, poor lubrication, or manufacturing defects, leading to engine performance issues. In this guide, we'll explore the symptoms of a bad automobile camshaft and provide step-by-step instructions on how to replace an automobile camshaft to restore engine efficiency.
A failing camshaft can cause noticeable engine problems. Here are the most common warning signs:
1. Check Engine Light & Error Codes
A malfunctioning camshaft or its sensor (CMP sensor) can trigger the Check Engine Light.
Common OBD-II codes: P0340 (Camshaft Position Sensor Circuit Malfunction), P0010 (Camshaft Actuator Circuit).
2. Poor Engine Performance
Misfires, rough idling, or stalling due to improper valve timing.
Loss of power and sluggish acceleration.
3. Loud Ticking or Knocking Noises
Worn cam lobes or damaged lifters can cause ticking or tapping sounds from the engine.
If ignored, this can lead to valve damage or piston interference (in interference engines).
4. Increased Fuel Consumption
Incorrect valve timing disrupts the air-fuel mixture, forcing the engine to burn more fuel.
5. Engine Won't Start
A severely damaged camshaft or failed sensor can prevent the engine from starting.
If you notice these symptoms, inspect the camshaft and related components (e.g., timing belt, lifters, sensors) to determine if replacement is necessary.
Replacing a camshaft requires mechanical knowledge, but with the right tools, it can be done at home. Here's a general guide (always consult your vehicle's service manual for specifics).
Tools & Materials Needed:
New camshaft (OEM or performance aftermarket)
Camshaft sealant/gasket
Timing belt/chain tools (if applicable)
Torque wrench
Socket set & screwdrivers
Engine oil & assembly lube
1. Disconnect the Battery & Drain Fluids
Disconnect the negative battery terminal to prevent electrical shorts.
Drain engine oil and coolant (if necessary).
2. Remove Timing Components
If your engine has a timing belt or chain, carefully remove it to access the camshaft.
Mark the timing alignment (or take pictures) to ensure correct reassembly.
3. Remove the Camshaft Sprocket & Bearings
Loosen the camshaft sprocket bolt and slide it off.
Remove the bearing caps in the correct order (usually marked with numbers).
4. Extract the Old Camshaft
Gently lift the camshaft out, being careful not to damage the journals.
Inspect the lifters, rocker arms, and valves for wear.
5. Install the New Camshaft
Apply assembly lube to the cam lobes and bearings.
Carefully insert the new camshaft, ensuring proper alignment.
Reinstall the bearing caps and torque them to the manufacturer's specifications.
6. Reassemble Timing Components & Refill Fluids
Reinstall the timing belt/chain, ensuring correct alignment.
Replace the valve cover gasket and refill engine oil/coolant.
Reconnect the battery and start the engine to check for leaks or unusual noises.
Final Tips:
Break-in period: After replacement, drive gently for the first 500 miles to allow proper seating.
Use high-quality oil: Synthetic oil helps extend camshaft life.
 English
 中文简体
中文简体 русский
 Español


